
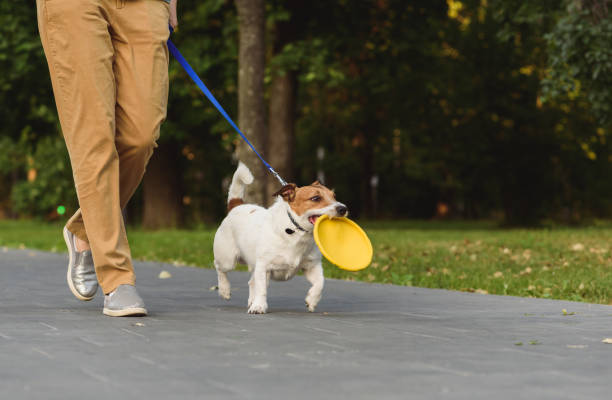
Having nice and calm walks with our lovely paw friends provides both us and our dogs with a positive experience- it improves our physical and mental health, strengthens the bond between us, and it helps us explore the surrounding. Sometimes it requires time and a lot of practice to reach the level at that we can calmly walk accompanied by our canines. Why is that? Pulling on a leash, jumping at people and animals, barking...most of us have experienced at least one of these behaviors while walking our dog. That is why teaching our paw friends basic obedience, especially how to walk on a leash is essential for them while in public. We want to make sure that our dogs will behave well so that they are welcomed by the general public.
Today we will discuss one of the most important obedience tasks, that dogs, especially service dogs, should know and namely the “Heel” command. In this article, you will understand what it means and why it is so important.
What Does “Heel” Actually Mean (in Dog Training)?
In general, this means getting your dog by your side. When it
refers to a sitting position, the dog should come to you, when he/she
receives the “heel” command and stay still. When it refers to
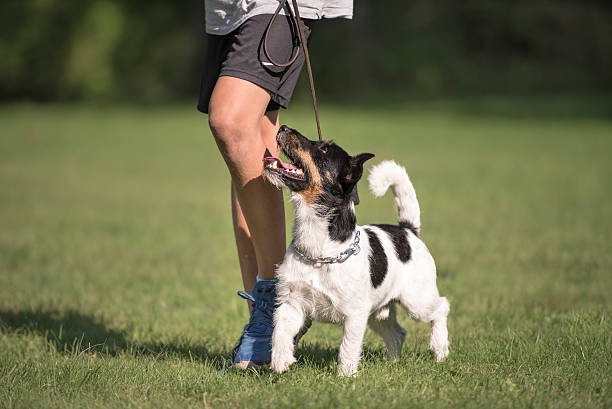
walking, the dog should walk at your side, usually at the owner’s
left side, at a distance, no bigger than 6 inches. By keeping a heel
position, the dog’s head and shoulders are aligned with the owner’s
hip (usually left hip).
It is important to note, that there is room for improvisation and a personal approach. In other words, the exact distance that your dog walks at your side depends on you. Also, it is up to you whether the dog will be exactly parallel to you or maybe a few inches ahead or behind you. However, it is important that you remain in your canine’s periphery. Otherwise, it would not be a “heel” position anymore. Also, by being consistent, you will help your paw friend know where exactly you want him/her to stay/walk.
Should “Heel” Be Always On Your Left Side?
No, it shouldn’t. This “rule” is related to the fact that most people are right-handed, and it can be tracked down to the time when soldiers/knights wore swords. They mounted up on their horses from the left side, so that the swords (which hung over their left legs) could not injure the horse’s back. If you are left-handed and prefer to train your dog to heel on your right side, this is totally fine.
What Are the Benefits of Training Your Dog the “Heel” Command
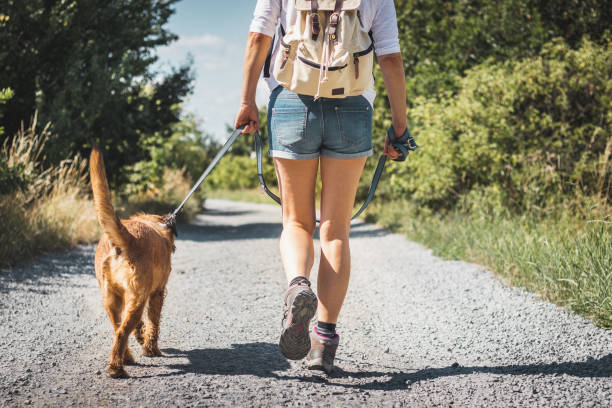
There are many benefits of teaching your dog to heel. By knowing “heel”, your dog will be able to calmly walk at your side and control his/her impulses. You will not have to worry whether he/she will misbehave while on a leash. You will be able to give your dog more freedom to explore the environment, as you will know, that he/she will stay in position immediately once he/she hears the command. That way you can prevent your canine from getting into potentially dangerous situations while outdoors.
Another benefit of knowing this command is related to the hierarchy in the pack. Your paw friend will learn that you are the alpha, and you make the decisions. Your dog will improve his/her focus on you. If you intend to train your dog as a service dog, teaching him/her to remain focused on you is a crucial part of the training process.
You provide your dog with predictability. As you may know, dogs love having a routine, they are known as creatures of habit. When you train your paw friend the “heel” command you tell him/her where to be while on a walk next to you. You actually provide him/her with a predefined area, which brings a feeling of predictability, and thus safety.
Based on what we mentioned above, knowing the “heel” command may provide your dog with comfort in stressful situations.
How to Train Your Dog to Heel
We stick to positive reinforcement, as we believe that dogs should feel motivated to learn new tasks and not feel stressed that they may be punished if they do not show the wanted behavior. That is why we will let you teach you an easy technique based on positive reinforcement. In other words-we will teach you how to train your dog to heel, based on encouragement and motivation. Dogs learn to perform tasks, as they know that they will get rewarded for them. Some breeds, like the German Shepherd, the Bernese Mountain Dog, the Greyhound, and the Labrador Retriever, genuinely enjoy being provided with new tasks.
However, before you start practicing, you should have trained your dog in more basic obedience commands like “sit”, “stay”, and “come”. Also, the better your dog is at remaining focused on you, the easier it will be for you to train him/her to heel.
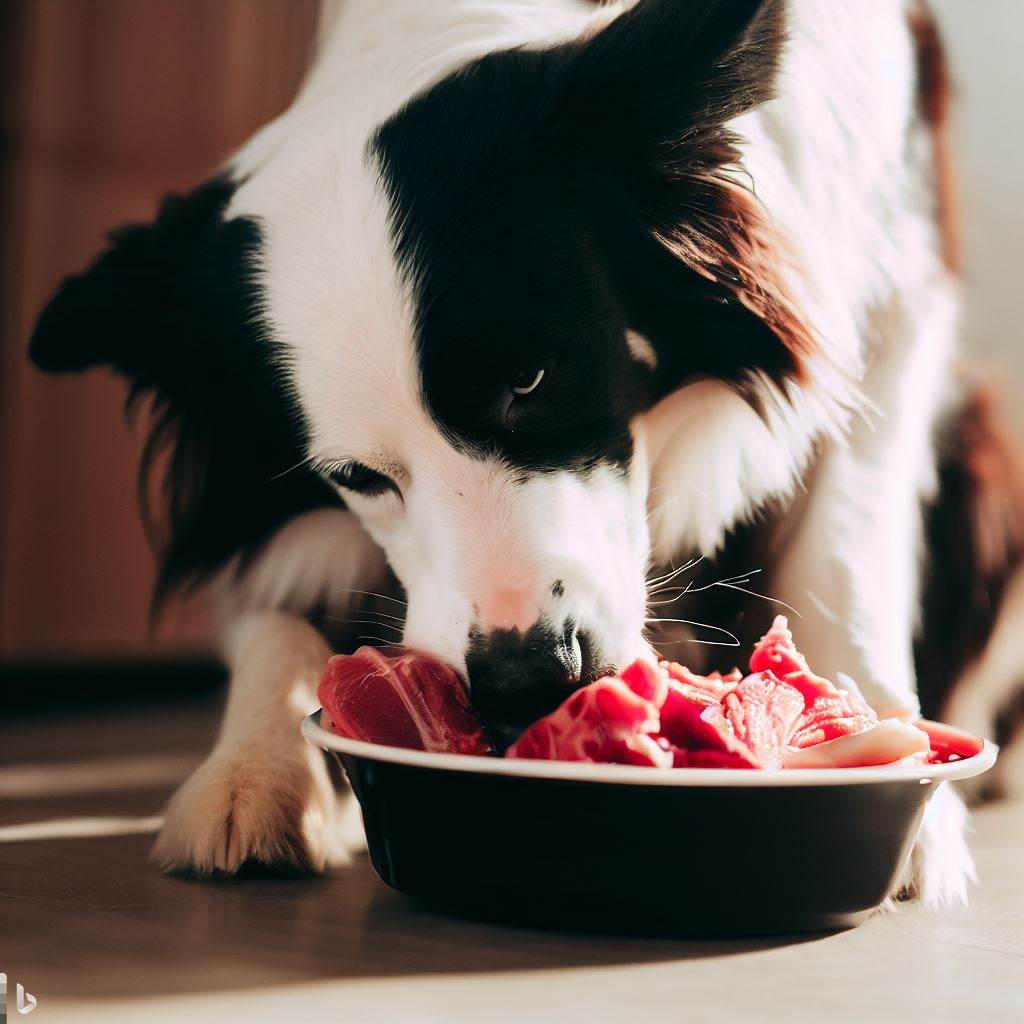
The first step of the training process is to prepare your doggy’s favorite treats and a clicker. If you are still not familiar with the clickers, these are devices that help train a dog new behaviors. When the dog exhibits the wanted behavior (whether the “heel” command or anything you want to reinforce) you should click and reward him/her. If you have decided to follow the “rule” for heel training to be conducted on the left side, you should hold the treats in your left hand and the clicker-in your right hand.
We always recommend that training a dog a new behavior should start in an environment free of distractions, such as a quiet room in your home, at a time of the day when it is not crowded. Additionally, you can turn off the TV and put the curtains, so that your dog does not get distracted by any sounds or views.
Give your dog a “sit” and “stay” command and let him/her remain in position on your left side. Once he/she performs the commands, click with the clicker and reward him/her. Your dog should be able to perform these commands really well, prior to getting engaged in more advanced training.
Show your dog the treats you are holding in your hand and while he/she is calm and focused on you, you can start slowly walking forward. Make 1-2 steps while holding the treats a few inches away from your dog’s face. Let your paw friend follow the treats. When your dog starts following you, you should click with the clicker, then praise and reward him/her. Repeat this every 1-2 steps. If your canine loses focus on you and stops following you, you should stop the session and start from the beginning, namely-call him/her, and give him/her commands to sit and stay. When you notice, that your paw friend is focused on you, you should make 1-2 steps, then click and reward him/her immediately once he/she starts following you. If you experience any difficulties, you may need to use a collar (some trainers recommend a martingale collar) to help you keep your paw friend in a position.
You should repeat the steps above several times a day and keep the sessions short (no longer than 10 minutes). Repeat the steps by gradually increasing the duration, i.e. if you have rewarded your dog after 1-2 steps, you can start rewarding him/her after 3-4 steps, then after 4-5 steps...and so on. It is important that you make a smooth transition and not put the bar too high from the beginning. Over time, you can replace the clicker with the verbal command “heel”. Some handlers prefer to not use clickers, as their dogs are afraid of the sound. Usually, this issue can be overcome with some practice and consistency, as well as by using the right type of clicker model (clickers produce different sounds, some have the option for the volume to be adjusted). However, if you prefer to not use a clicker, you can move directly to the verbal command. During the training sessions, you can use your hand to give your dog an additional cue, i.e. point with your left hand to your hip.

Once your dog understands the concept (i.e. after a week or so), you can make the task a bit more difficult. Put the treats in your pocket, so that they are not visible to your dog. Start walking slowly forward. When your canine is following you, you should get a treat from your pocket and reward him/her. Praise and reward your canine every time when he/she exhibits the wanted behavior. As already explained, you should increase the duration gradually. Also, you can start adding obstacles/distractions to the surroundings, so that your paw friend perfects the command.
Over time, you can move to a more busy area, like a park, where it will be more distractions like sounds, smells, people, and animals. Make sure that you are practicing in a secure and supervised environment, to avoid any unwanted situations. If you think that your dog has understood the concept really well and performs the tasks without hesitation, you can gradually start changing the pace or adding turns to your heeling.
It is important to remember, that you should end the sessions, while your dog is still having a positive experience and not wait for him/her to get bored.