
Training your dog in basic obedience commands is an essential part of standard dog training, service dog training as well as the general process of raising a dog. You may wonder why you need to train your dog in basic obedience if you do not intend for him/her to have a status different from a “normal pet”. Knowing basic tasks will help your paw friend behave him/herself in public, will improve your control over him/her, will help you better address mild behavioral issues, and most importantly- can save his/her life if he/she gets into a dangerous situation. Not to mention, that the feeling of having the discipline and a routine will improve.
For those of you, whose goal is to raise your dog as a well-behaved and confident family and society member, we will list 10 basic but essential dog commands. If you have already read our articles, you may already know what the two basic approaches to training a dog command are:
- The luring method is based on using treats to lure the dog into a certain position;
- The capturing method relies on the natural dog’s behavior and the handler’s ability to “capture” the behavior once performed.
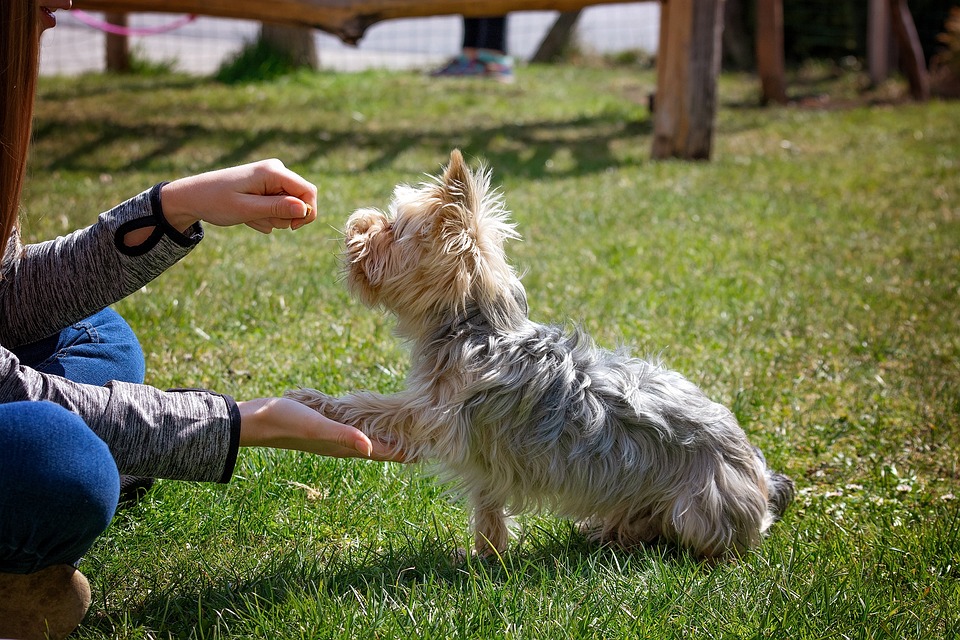
1. Sit
This is the most common command in dog training. Although it may look quite basic, it is actually very important, when you need to manage your dog’s behavior. It can be used when you need your dog to settle, and stop him/her from jumping.
The easiest way to train your dog to sit is to grab his/her favorite treat, show it to him/her, and then slowly move it above his/her head. Since your paw friend will be unable to reach the treat, he/she is likely to sit to continue having the treat within his/her sight. Once your puppy’s butt touches the ground, you should click and give him/her a treat. After several repetitions, your dog may have already understood the main idea. After that, you can replace the clicker with the cue word “sit” and start utilizing this command. Although the clicker can be helpful and plays the role of a bridge toward new behaviors, some owners prefer not to use it. Owners, who prefer to use vocal commands directly, can say the cue word “sit” instead of clicking with the clicker, once their dog gets into a sitting position.
The more actively you reinforce a behavior, the more likely it is for it to continue occurring in the future.
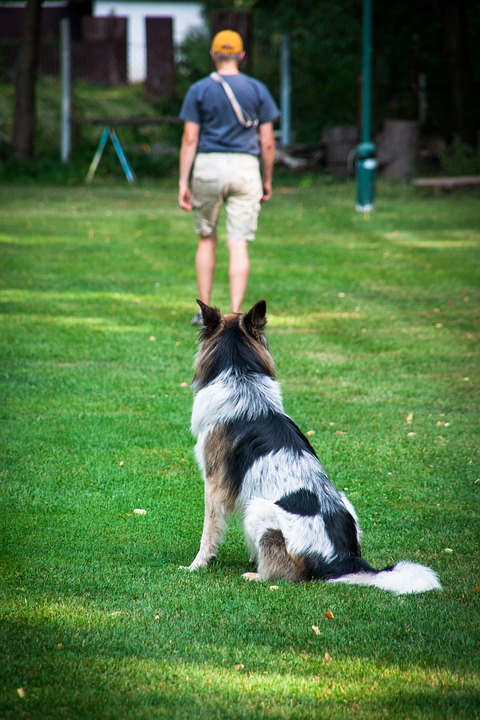
2. Stay
“Stay” is the natural extension of “sit”. “Stay” can be considered a long “sit”. This command often comes in handy during daily life. It can prevent your dog from getting into dangerous situations or eventually causing any damage/trouble to other people.
Once your dog sits, you should take a step back. If your paw friend does not move, say “stay” (click and reward him/her and incorporate the cue word, once he/she understands the concept) and reward him/her. If he/she starts following you, say “No” and repeat the steps again- give a “sit” command and make a step back.
3. Name
Teaching your dog to recognize his/her name will ease the communication between you and him/her. Also, it will ensure that you can get his/her attention.
Prepare treats or your paw friend’s food bowl. Have him/her on a leash next to you and call him/her by name. Once you say his/her name, offer treats or a small amount of his/her food. Repeat several times in a row. Say his/her name and the moment, he/she looks at you, you should click with the clicker and give a treat. Repeat the steps until your dog immediately responds to his/her and makes eye contact with you. After a few days, you can try practicing outdoors during your regular walks. Prepare yummy treats and be ready to reward the wanted behavior.
4. Come
Another command, that can be very useful, especially while in public. An easy way to teach your paw friend to come to you is by putting a leash and a collar on him/her and staying at a distance. Say the cue word “come” and gently pull the leash. When your paw friend comes to you, should praise and reward him/her. After several repetitions a day, your beloved paw friend will start associating the cue word with a reward. Remember to be patient and consistent. Do not pull the leash too hard and always shows affection to your dog.
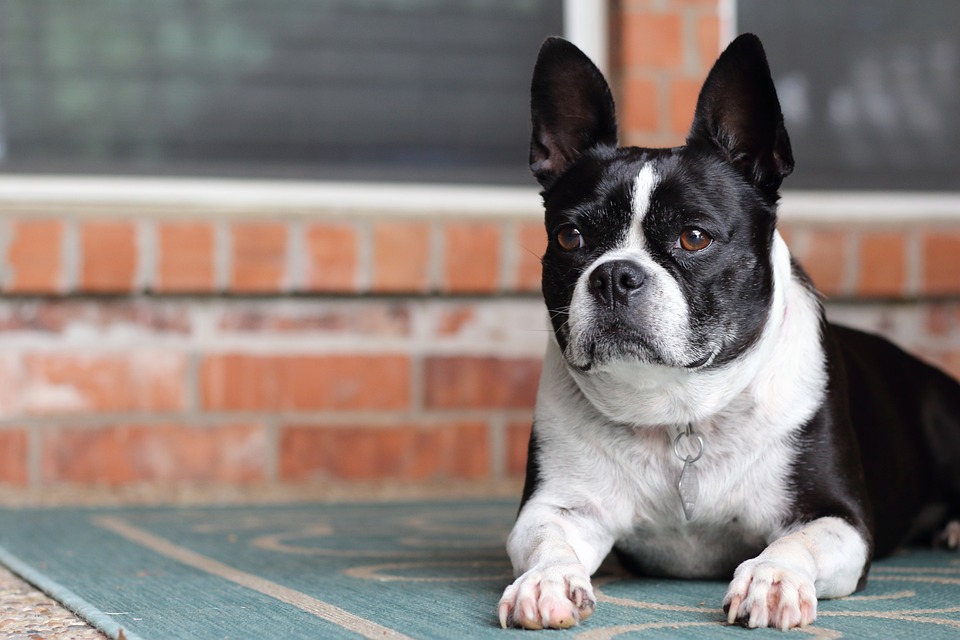
5. Lie Down
This command proves useful in situations when you need your dog to relax as he/she may need to wait for a longer time. This often comes in handy in busy environments such as airports or bus stops.
The easiest way to teach your canine the “down” command is to prepare delicious and smelly treats and show these to him/her. Give a “sit” command. Keep your hand in a fist and start slowly moving it to the ground. Just like with training the “sit” command your dog is likely to follow the treats and get into a position. Repeat until your paw friend understand what you are expecting him/her to do. If your doggy struggles to do it, remove any distractions from the surroundings and try again. Do not keep the sessions longer than 10 minutes.
6. Watch Me / Focus Training
The “watch me” command is crucial for dog training if you want to ensure that your paw friend will behave him/herself in an environment with many distractions. It is essential in service dog training, as service animals must be able to remain focused on their owners despite the distractions.
You should call him/her by name (he/she should already recognize his/her name) followed by the command “watch me” or “look at me”. The moment he/she looks at you, you should click and reward him/her. You can incorporate treats in the training session if your dog does not respond immediately. Wave a treat in front of his/her face, so that he/she can smell it. Then put it and pull it up to your face. As your paw friend may want to not lose the treat outside his/her sight, he/she is likely to end up looking at you. When he/she makes eye contact, you should mark the behavior and give a treat right away.
Within several sessions, you should be able to get your doggy’s attention. In order to practice the focus command, you should gradually add more distractions (move to busier areas) to the surrounding. Also, you will need to set the bar a bit higher by gradually increasing the time duration between the moment your dog makes eye contact and the moment you reward him/her. That way he/she will learn to remain focused on you.
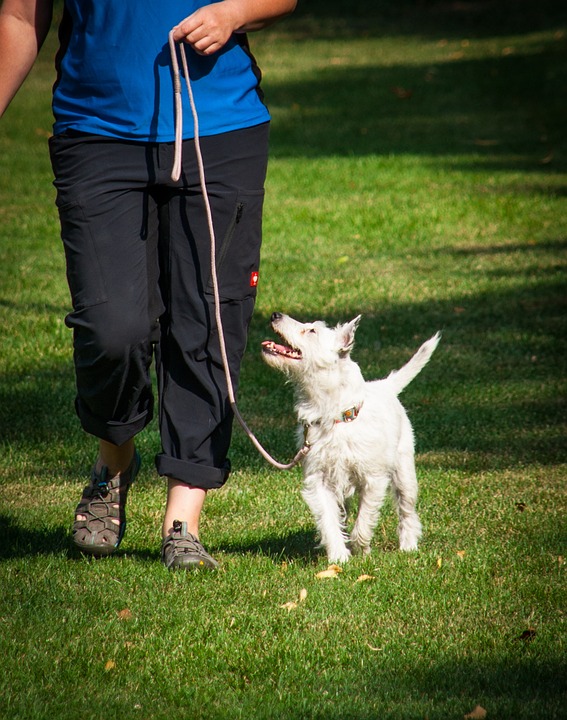
7. Heel
“Heel” is another command of great importance. Your paw friend should know how to calmly walk alongside you and not pull on the leash in the presence of triggers (other animals, people, sounds, or smells).
You should prepare your canine’s favorite treats and decide whether you will practice at your left side, or at your right side. The classical “heel” training should be conducted on the person’s left side. However, unless you intend to participate in obedience competitions, where the official rules should be kept, you can practice on both sides.
If you want to practice on your left side, you should hold the treats in the left hand and the clicker-in the right hand. Start practicing at home by giving your dog a command to sit and stay. Let him stay in the position on your left side. Click with the clicker and reward your canine immediately after he/she has performed the commands. As you can see, your doggy should already know basic obedience before you move to more difficult tasks.
As a next step you should show your dog the treats and while he/she is focused on them/ you, you should start slowly moving forward. Make 1-2 steps forward while keeping the treats close to his/her nose. Let him/her follow the treats. When your dog starts following you, should click and give a reward. Repeat this technique every 1-2 steps, so your dog understands the concept.
You should not walk too fast nor should you increase the distance too much. If your dog loses focus, you should stop the session and start the steps from the beginning (give a command to sit and stay…etc.). In case your canine seems to be hesitant to fulfill the command, you can put a collar on him/her, so he/she stays in a position.
After several repetitions, you can start adding a few more steps to the session (3-4, 5-6...etc.) and reward your doggy if he/she stays focused on you and follows you during this time.
Once your paw friend is able to perform the command consistently, you can replace the clicker with the cue word “heel”. As mentioned above, if you do not want to use a clicker, you can implement the verbal command in the session still in the beginning.
Also, you can use your hand to give your dog additional non-verbal signals, i.e. point at your hip.
8. Leave it
I believe, there is no need to explain why this command is so important... Maybe all of us use these words “leave it” on a daily basis while interacting with our paw friends.
The main idea of this command is to teach the dog, that he/she will get a reward of a higher value, if he/she leaves the one, he/she initially wants. If you are feeling a bit confused, what this means, the example below may bring clarification.
You should prepare two types of treats-the first one should be of a low- or mid-value (your dog’s standard food or something he/she receives for good, but not perfect performance), while the second type should be of a higher value (something he/she receives only during the training sessions for great performance or if there are many distractions in the surroundings).
We will list two approaches how to conduct training, however, the main principle remains the same.
1. The first approach is to hold the treats in each hand;
2. The second approach is to hold the treat of the higher value in the hand and put the treat of a lower value on the floor.
If you opt for the first approach, you should show your dog the first treat (the one of the lower value), let him/her sniff it and then close your hand. The second treat should stay hidden (hold your hand behind your back). Keep your hand (holding the first treat) in a fist right before your dog’s nose. He/she is likely to start sniffing at your hand, pawing and/or licking it at. Once your canine no longer shows interest in the treat, you should click and give him/her the treat you are hiding behind your back. After a few repetitions you can add the cue words “leave it” to the training sessions.
The second approach suggests that you show your paw friend the treat of the lower value and then cover it with your foot. The steps after that are the same-let him/her sniff at the treat until he/she loses interest and then reward him/her with the hidden treat of a higher value.
9. Place / Go to Your Spot
You can use this command in various situations, such as you are having guests and your paw friend to not bark, jump on them or otherwise disturb them, you are having dinner and do not want your paw friend to beg for food, you are having work to do and do not want him/her to start whining, pawing at you or otherwise searching your attention at that moment.
An easy technique to use is to put a leash on Fido and while holding treats in the other hand, to encourage him/her to walk towards the wanted spot-this could be his/her bed, crate, blanket...etc. At the moment your doggy reaches the spot, you should say a chosen cue word and reward him/her. The cue word can be anything based on the specific spot and your preferences. You should keep in mind that your doggy needs to associate his/her spot with a positive experience and not with punishment. By using positive reinforcement (treats, toys or anything your doggy likes) you provide a positive experience and keep him/her motivated.
Another easy technique is to just point at the bed/crate/ the spot you want your doggy to go, say the cue word, depending on the spot and put a treat inside / on it. Over time, he/she will start pairing the spot with a reward.
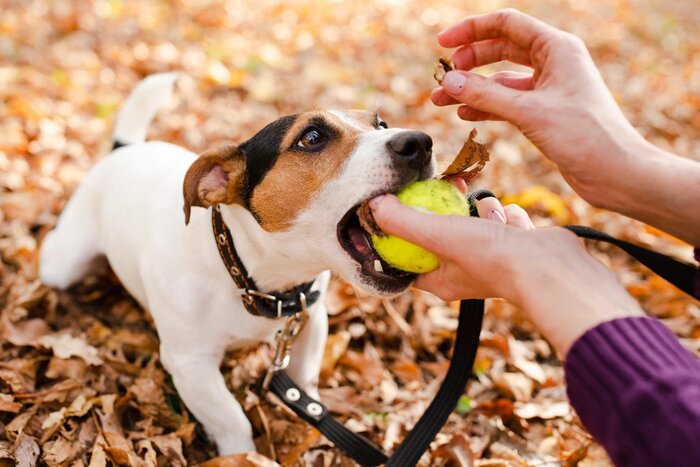
10. Take It / Drop It
Take an object your dog likes to play with and hold it in your hand, or wait for your paw friend to take the object him/herself. Once your dog opens his/her mouth to grab the item, you should say the cue words “take it” and reward him/her. Another option is to place the item on the floor and encourage your paw friend to take it- you can grab it and play with it for a while, then put it back on the floor and point at it. Then the steps are identical-when your canine opens his/her mouth to take the item, you should say the cue words and reward him/her.
You should note that your paw friend may need more time to take the object. In this case, you can put the bar a bit lower in the beginning and wait for him/her to touch the item. After that you should click with the clicker and give a treat. Repeat this several times, until your canine starts touching the item consistently. Then you can increase the difficulty, and start clicking and rewarding only if he/she puts the item in his/her mouth. Repeat until your dog can perform the command consistently.
The opposite command “drop it” can also be easily trained. Prepare a second object, identical to the first one, or eventually of a higher value. Let your dog play with the first one. After some time show him/her the second object, which will motivate him/her to drop the first one, to grab the second one. Say “drop it” and reward him/her at right after he/she drops the first item.